Highlights
- Tiny11 gives a lightweight, faster, and efficient bloatware-free experience of the latest Windows 11 25H2.
- NTDEV, the dev of Tiny11, provides direct download links of the prebuilt ISO files.
- And in case you want to build your own ISO file, then you can use the Tiny11 Builder to do so.
For building the ISO file, we will be using a specific tool known as Tiny11 Builder from NTDEV itself. It is an all-in-one script (PowerShell) that can be used to create your own version of Tiny11, with your own selection of features that you need.
Don’t want to miss the best from TechLatest ? Set us as a preferred source in Google Search and make sure you never miss our latest.
You can get any Windows 11 update from the official sources, whatever language or architecture that fits your machine and language preference. And then run the PowerShell script to compress and trim the ISO file as per your preference.
Without further ado, let’s start with the steps to create your own streamlined Windows 11 image using the Tiny11 Builder.
Content Table
Tiny11 Builder Script versions
The dev provides two separate versions of Tiny11 builder PowerShell scripts, tiny11maker.ps1 and tiny11coremaker.ps1 . Both do specific work. Here is the version description from the dev’s GitHub repo .
“ tiny11maker.ps1 : The regular script, which removes a lot of bloat but keeps the system serviceable. You can add languages, updates, and features post-creation. This is the recommended script for regular use.”
“ tiny11coremaker.ps1 : The core script, which removes even more bloat but also removes the ability to service the image. You cannot add languages, updates, or features post-creation. This is recommended for quick testing or development use.”
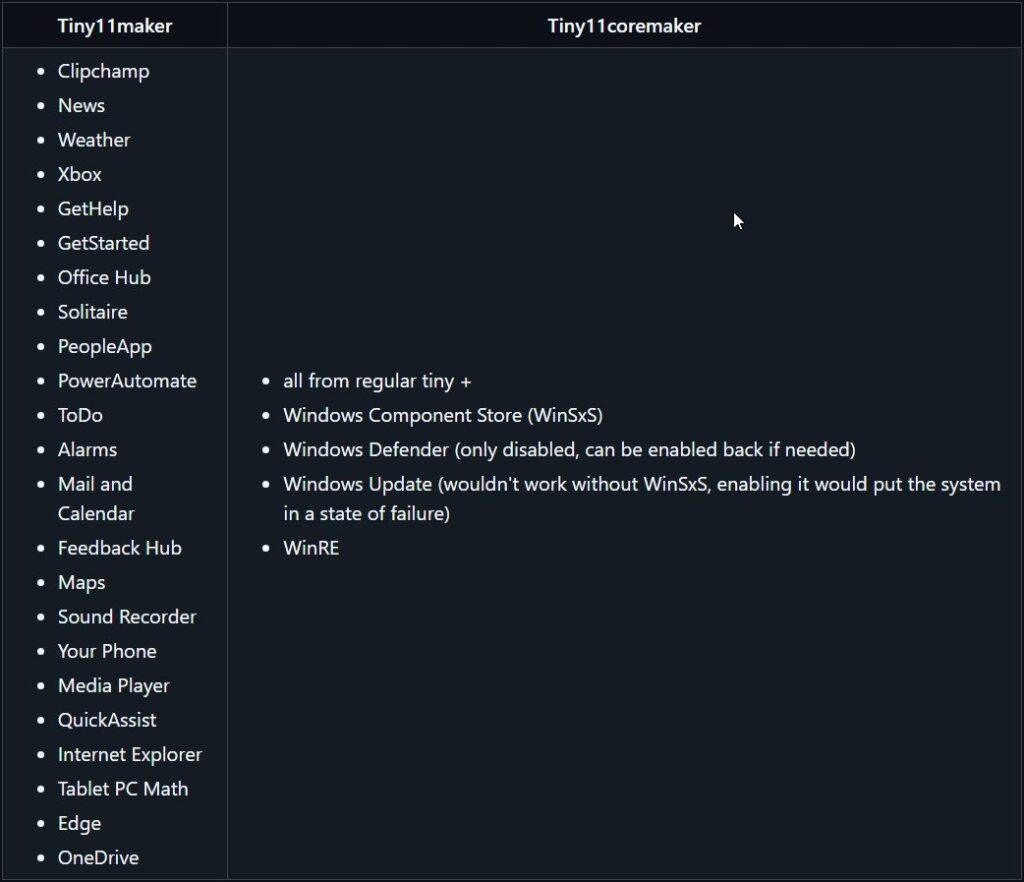
Tiny11 Normal vs. Core
Steps to Build Your Own Tiny11 25H2 ISO
Download the Windows 11 ISO file either from the Microsoft website , or you can download it directly from our MSDL tool, where we provide all the Windows 11, 10, and 8.1 directly from Microsoft servers only, and as per your preferences, like language and architecture.
- Visit https://msdl.tech-latest.com
- Look for Windows 11 and then select Version 25H2 .
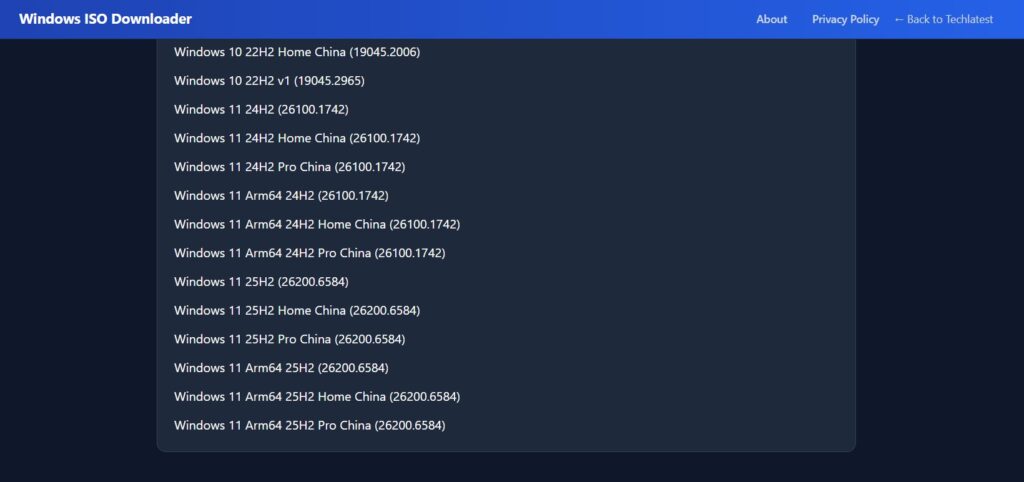
- Pick your preferred language.
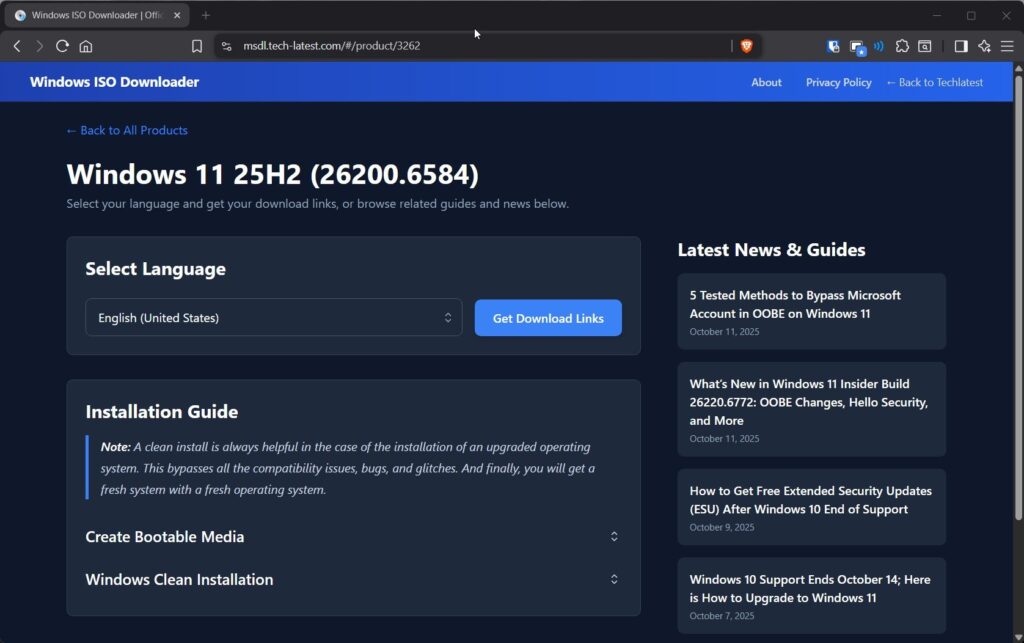
- Download the ISO file for 64-bit systems (since Windows 11 no longer supports 32-bit PCs).
Since we have downloaded the latest Windows 11 25H2 ISO file, let’s start the process of building the Tiny11 ISO file.
- Visit the official NTDEV Tiny11 Builder GitHub repository . And click on the Releases section.
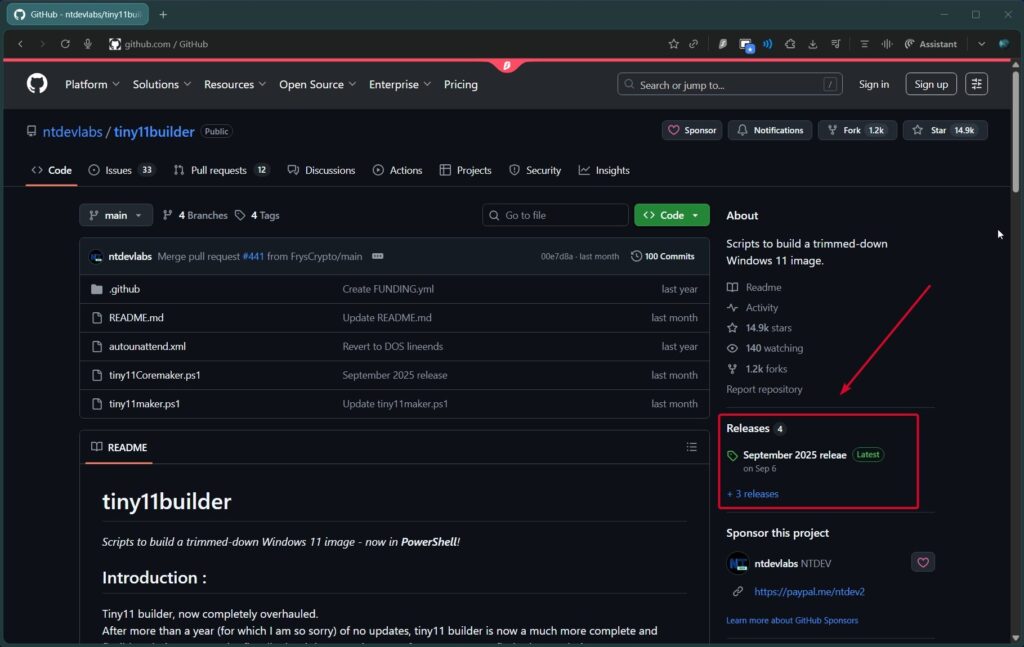
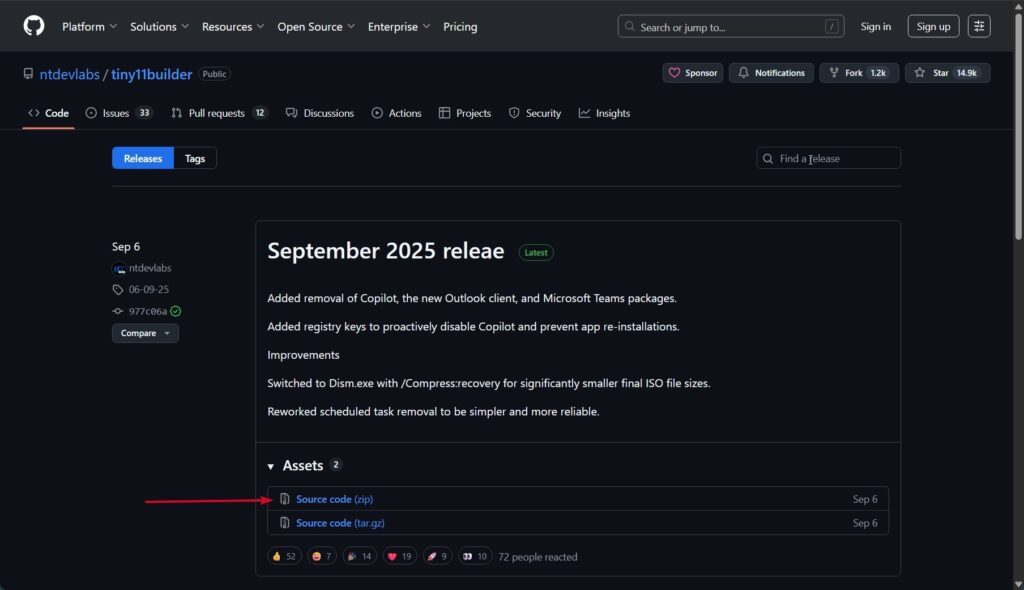
- And download the .zip file from the Assets section . And extract the zip file.
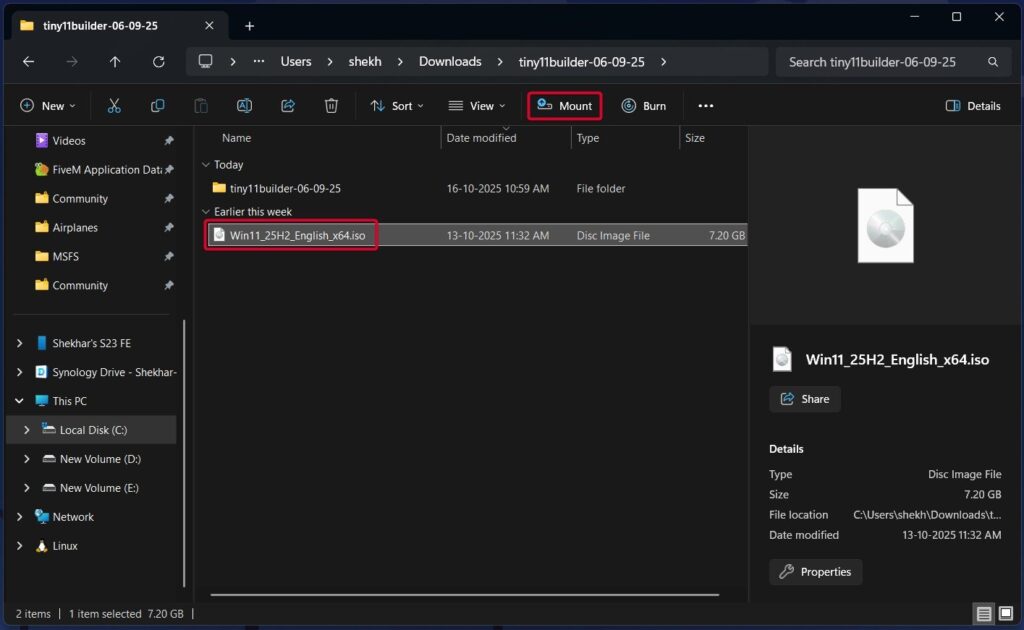
- Now, navigate to the folder where you downloaded the Windows 11 ISO file. And left-click on the ISO file and click on the Mount button from the Windows File Explorer.
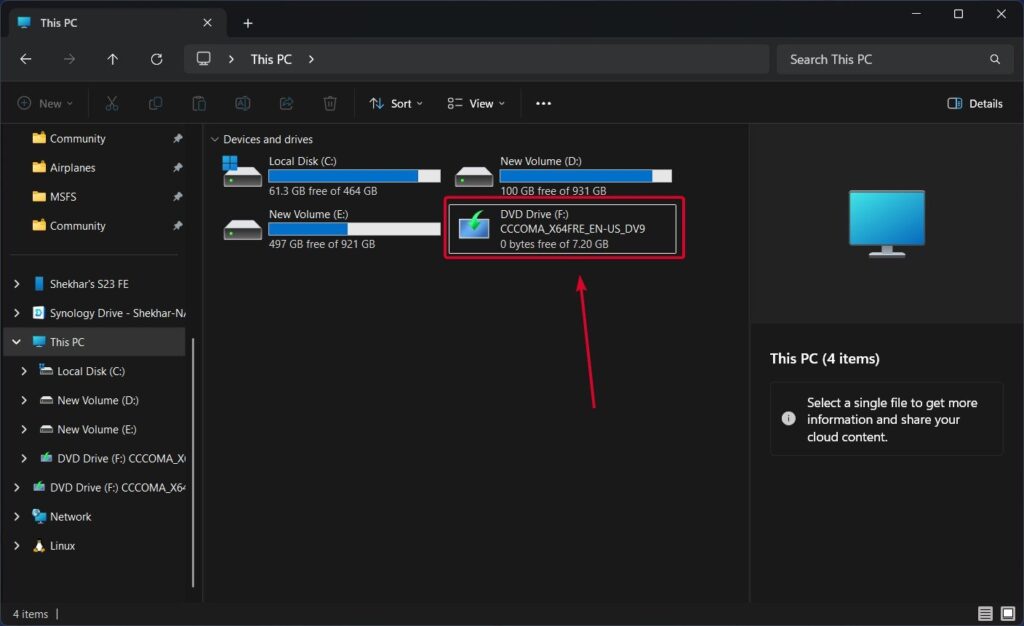
- The best way to know whether the ISO is mounted or not, is to go to This PC and check for a new volume named similarly to “DVD Drive (F:) CCCOMA_X64FRE_EN-US_DV9”.
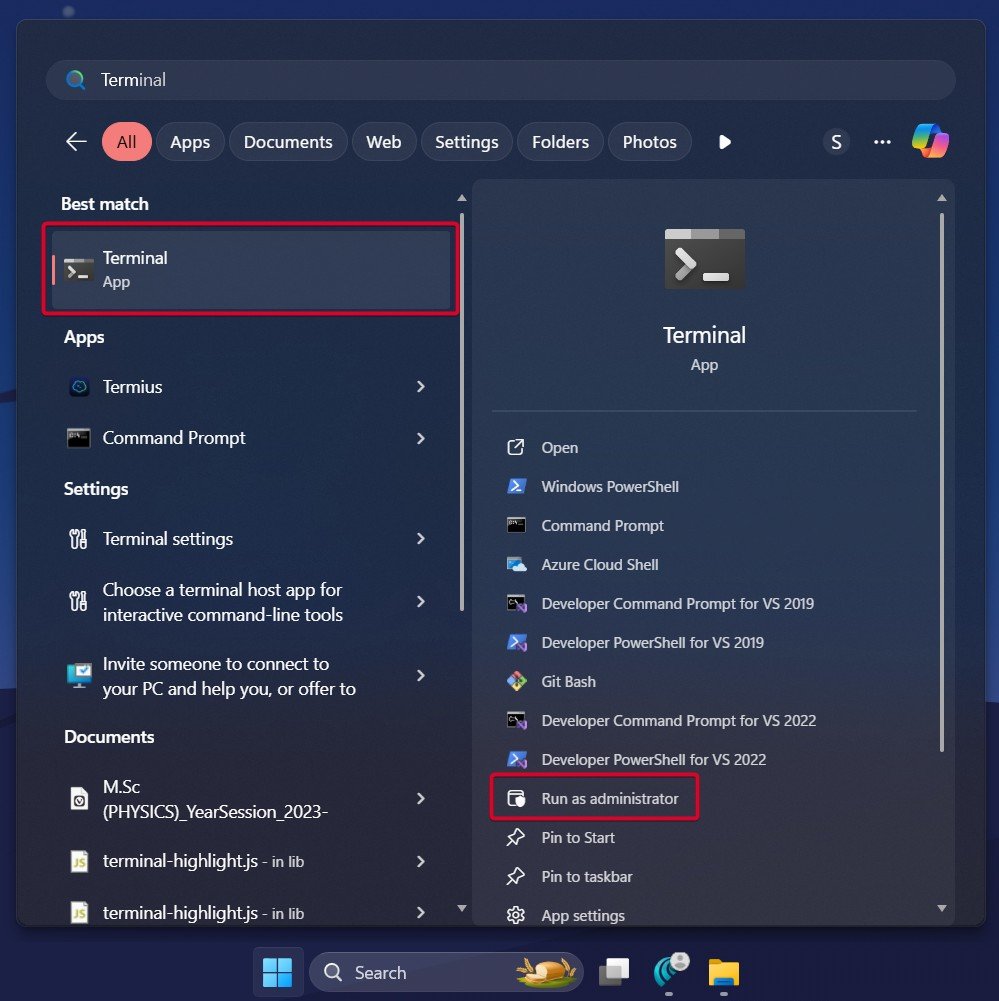
- Now, open PowerShell/Terminal as admin.
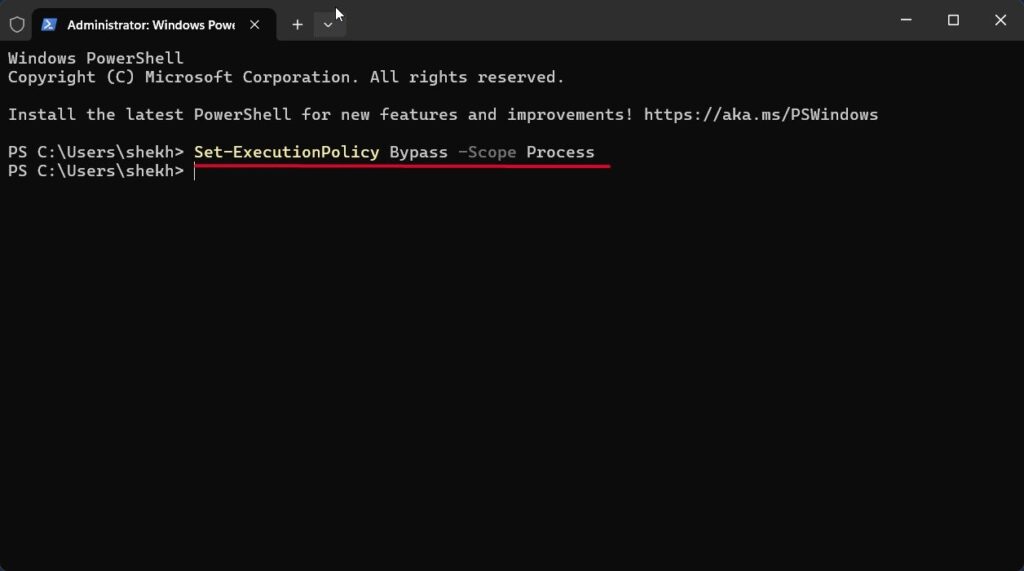
- Execute the following command to change the script execution policy: (change the path accordingly.)
Set-ExecutionPolicy Bypass -Scope Process
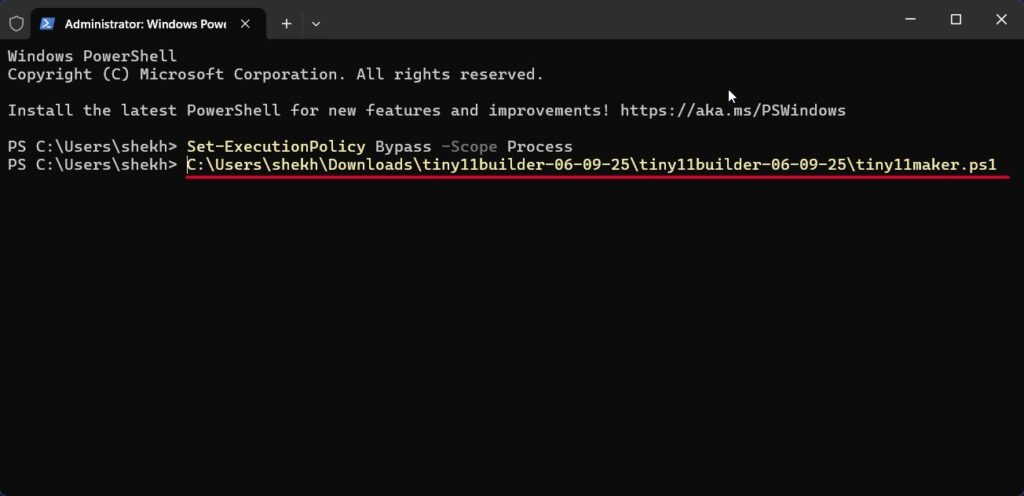
- Finally, start the script by pasting the ps1 script file into the Terminal window.
C:\Users\shekh\Downloads\tiny11builder-06-09-25\tiny11builder-06-09-25\tiny11maker.ps1
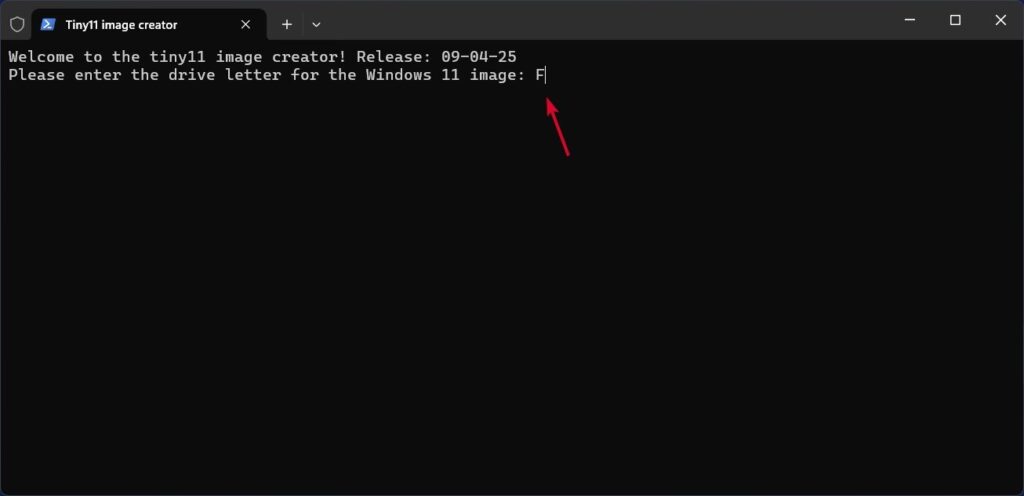
- As soon as the script starts, type the mounted Windows image’s letter, which can be cross-checked in the 4th setup, and press Enter to execute it.
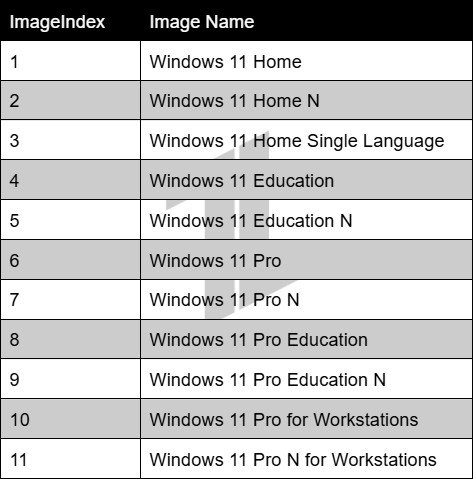
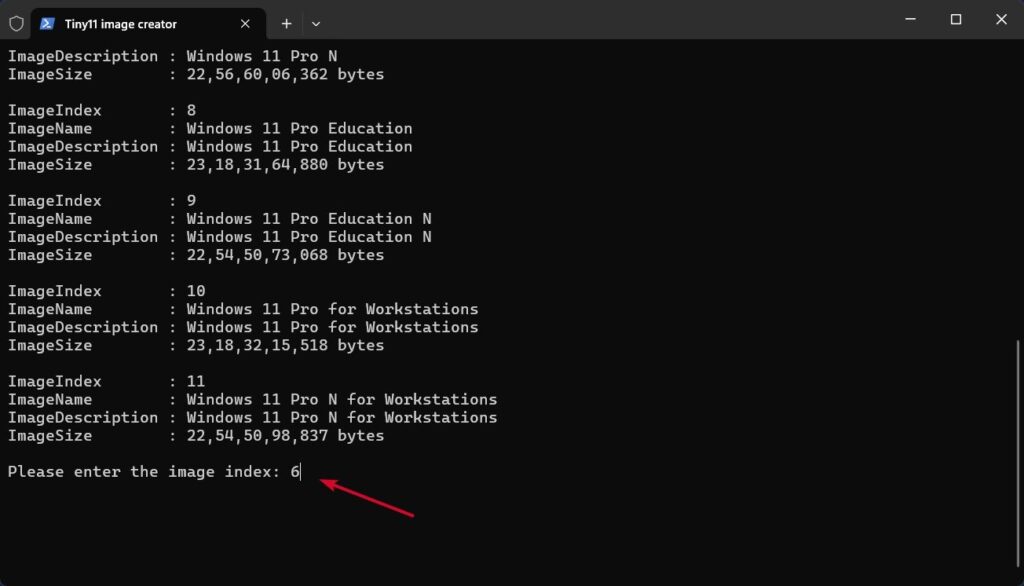
- Now, type the index number of the Windows edition; check the below table for the index number and image name along with its size.
- Now sit and relax, as the execution will take a couple of minutes.
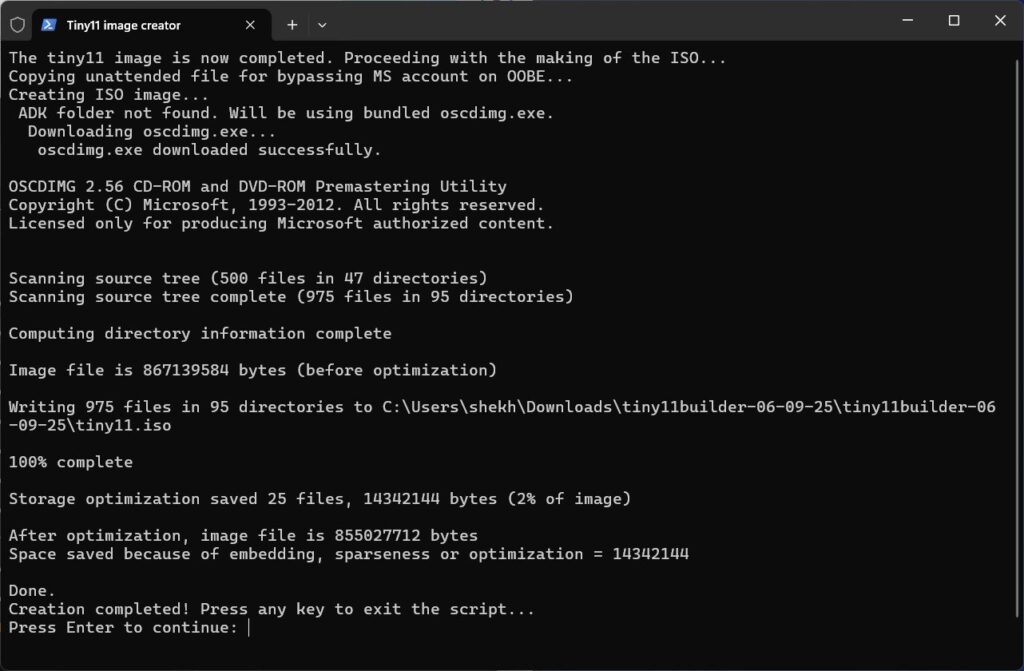
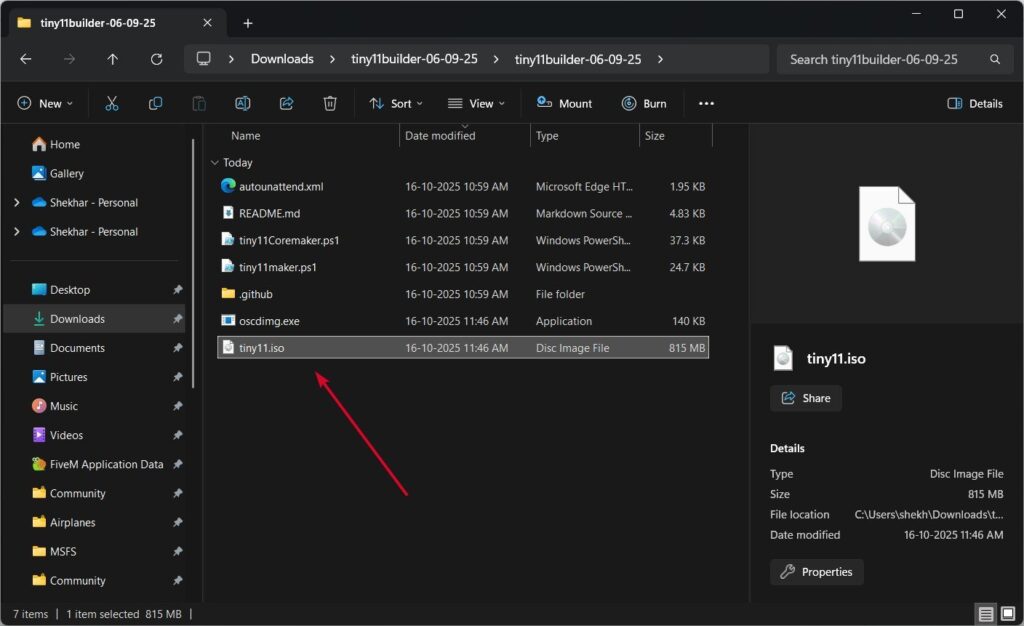
- The new Windows 11 ISO will be moved to the Tiny11 builder folder when completed, with the name tiny11.iso .
Install Tiny11 in your PC
We already have explained the step to install Tiny11 in your PC in detail; do check that for the full in-depth guide .
Wrapping It All
There you go, we have successfully created our own version of the streamlined Windows 11 image, using the Tiny11 Builder.
We only demonstrated the normal version of Tiny11. In a similar method, you can also try the Tiny11 Core Builder; you just need to replace the path of the script in the 7th step.
Enjoyed this article?
If TechLatest has helped you, consider supporting us with a one-time tip on Ko-fi. Every contribution keeps our work free and independent.
