If you want to change your home address on your iPhone, there are many reasons for doing so. Maybe you’ve just moved, or maybe you’re traveling and need to update your information for temporary purposes.
If your apple map and google maps are set up correctly, you will be able to see your home address. If not, you will not be able to see your address. Sometimes, we need to change our iPhone’s address or location. How do we do it?
Don’t want to miss the best from TechLatest ? Set us as a preferred source in Google Search and make sure you never miss our latest.
In this article, we’ll show you how to change your home address on your iPhone. You can follow our step-by-step instructions by reading on.
So without further ado, let’s begin!
Content Table
How To Change Your Home Address In Google Maps On iPhone?
If you’re using Google Maps on your iPhone, you can easily update your home address. Just follow these simple steps:
- On your iPhone, open Google Maps .
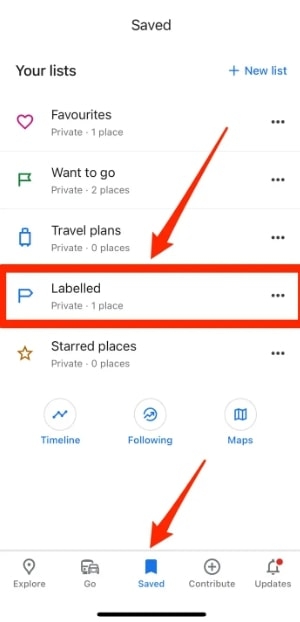
- Click Saved at the bottom of the menu. Then tap Labeled .
- On the Home screen, tap the three horizontal dots .
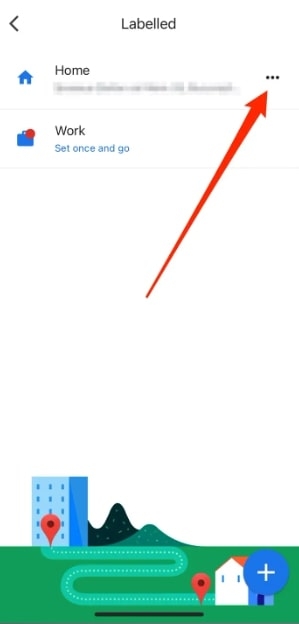
- Select Edit home from the pop-up menu.
- In the text box at the top, tap the X button to remove the current home address.
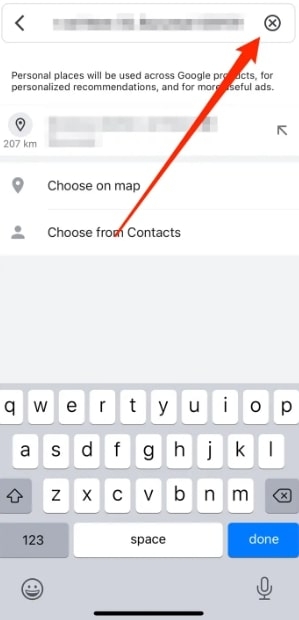
- In the text box, enter the new address. When you’re done, you’ll see the pin appear below. To make the pin your home address, simply tap it.
Note : You won’t see those three dots if you haven’t set your home address before. Simply click Set once, click Home on the next screen, and enter your home address.
How To Change Your Home Address In Apple Maps On iPhone?
Apple Maps is the default maps app on your iPhone, and this section shows you how to modify your home address using that app.
Below are the steps you need to follow:
- Open the Apple Maps app and then tap the “ i ” information logo in the upper right corner.
- Tap Report an Issue > Tap Home from the Map Settings window that appears.
- You can now type and search for your home address in Apple Maps if you have never entered your address before. Sliding to the left will let you remove any existing home address you’ve set.
- Click on the place or address option and enter your home address . If you get a list of results, click on it.
- On Apple Maps, tap Add to save your new address.
However, there is another way to change your home address on Apple maps easily, so make sure you check those out.
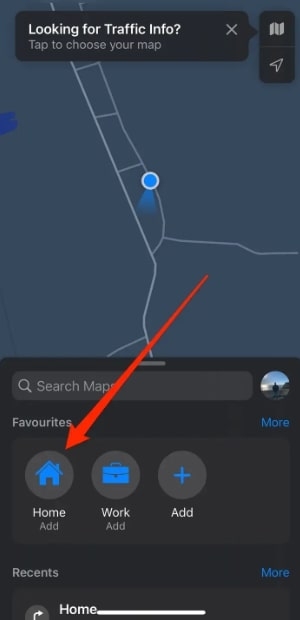
- First, on your iPhone, go to Apple Maps .
- Click on Home under Favorites .
- Click on Open My Contact Card .
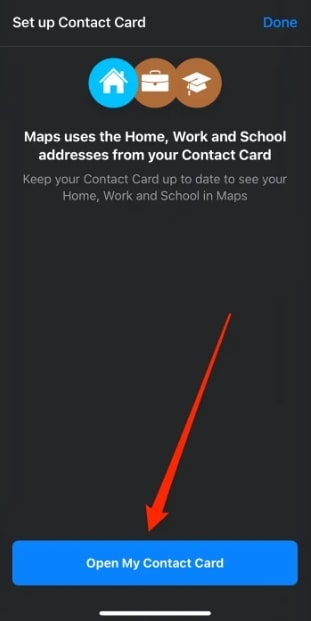
Note: You can also open your Contact Card by tapping Contact in the bottom menu of the Phone app. Once you tap your name, you will be taken to the next screen, where you can edit your name.
- When you reach your home address, scroll down and edit it to reflect your real home address.
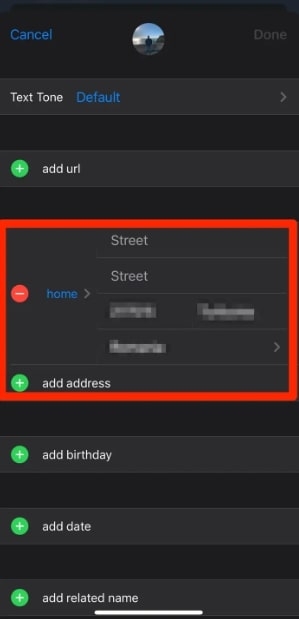
- In the upper right corner, tap Done .
- Your home address will now appear in Apple Maps. Changing your home address won’t happen immediately, so you might need to close the app and open it.
How To Change Home Address On iPhone Autofill?
You can perhaps use a shortcut through the iPhone autofill to find out how to change your home address on your iPhone. For instance, if you fill out a form in your browser, it will automatically detect the fields and fill them in. You will also find your home address.
Follow these steps to change your home address for iPhone autofill:
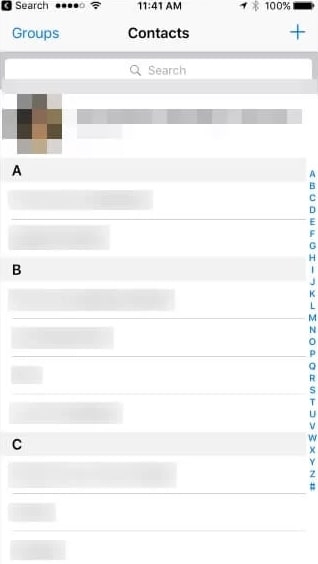
- Go to the contacts app, and click on your own profile at the top.
- In the upper right-hand corner of the screen, click on the edit button.
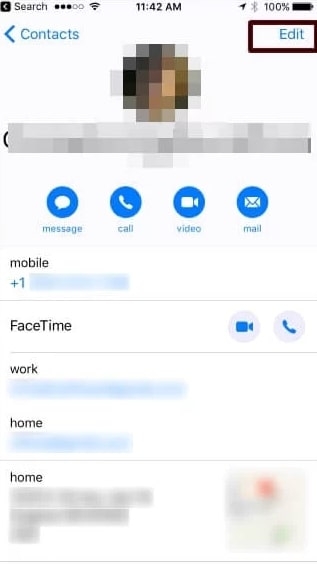
- Located near the home address is the edit button. Scroll down to find it. To change your address, click on it. Then click on the add address button if you haven’t added one yet.
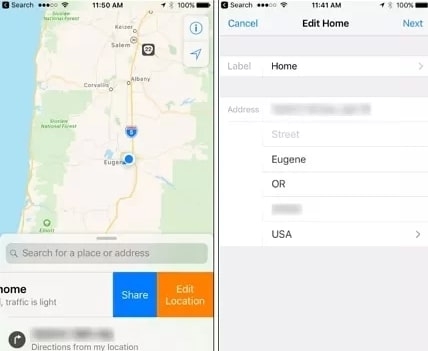
- After that, type and save the new address .
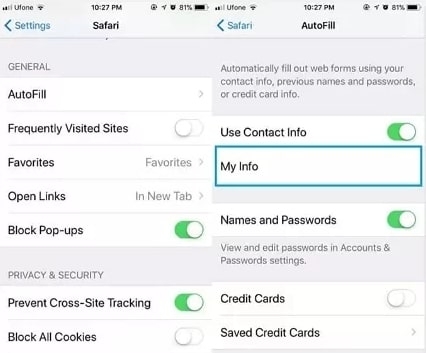
- Now, go to the settings menu and choose Safari . Find the autofill option under the general section and click on it.
- To begin with, check to see if the contact information for autofill is enabled.
- To view your details, click on My info . To change the address, click the address field, then manually type the new address.
How To Change Your Home Address On Your iPhone By Editing Your Apple ID Address?
Just change the Apple ID address on your iPhone, and you’ll be able to change the home location. Make sure you have used up all your Apple ID balance and subscription before changing your home address. You won’t be able to access these after changing your address.
You will need to follow these steps:
- Go to Settings on your iPhone. Next, click on your Name , and then Media & Purchases .
- Click on the View Account option and then under the Account section, click on the Country/Region , and then select the New Location .
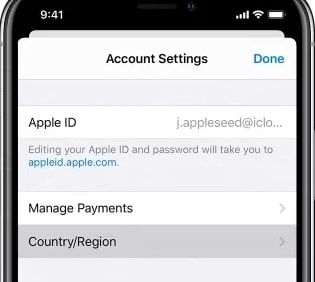
- Next, you will need to review and accept the terms and conditions. Now your iPhone will update your location.
Conclusion
We hope this guide was helpful and informative in teaching you how to change your home address on your iPhone. You can change your home address on your iPhone in a few ways. Using Apple Maps, you can either edit your address or use the Apple Maps app to search for and add your new address.
You can also change your home address by editing your contact card or by changing your Apple ID address. We understand all your inconveniences, so we compiled the simplest and most effective methods for you.
Thanks for reading!
Further Reading:
- How to Set Apple Music Sleep Timer on an iPhone?
- How to Print to PDF on iPhone?
- Apple Plans to Unveil iPhone 14 Series on September 14
Enjoyed this article?
If TechLatest has helped you, consider supporting us with a one-time tip on Ko-fi. Every contribution keeps our work free and independent.
Phones are used to print nearly anything, whether it be a professional document or a personal document like recipes, posters, etc. One of the key advantages of printing to PDF is that the original structure of the file remains the same without losing the format.
In this article, we will show you how to print to PDF on iPhone by following simple steps.
Don’t want to miss the best from TechLatest ? Set us as a preferred source in Google Search and make sure you never miss our latest.
- How to Edit PDF on iPhone? (3 Methods)
- How Do I Transfer PDF Files to My iPad
- How to use Microsoft Office for Mac Free?
Content Table
How to Print to PDF on iPhone?
To print the PDF on iPhone, follow the steps given below:
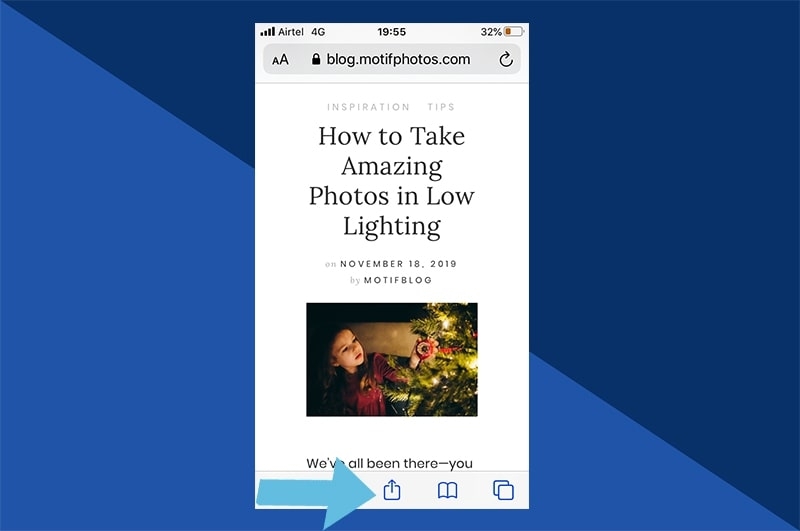
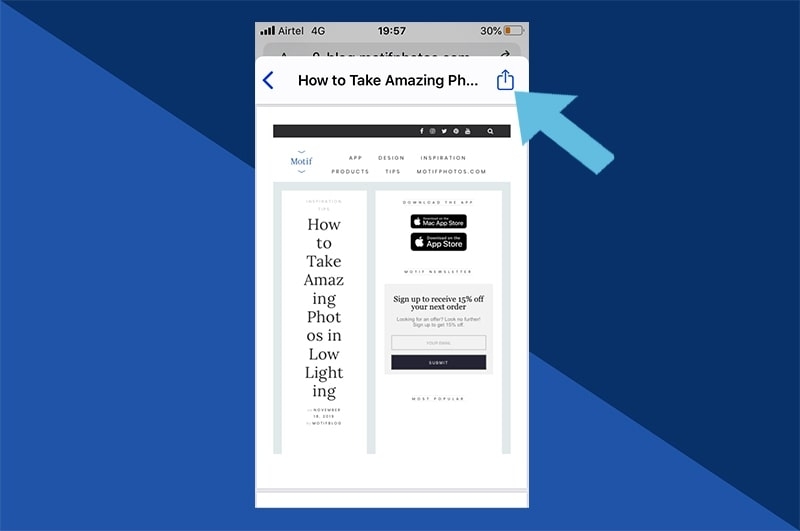
Step 1: Click on the Share Icon
You will see an icon with an arrow pointing upwards. These icons are present at the bottom of the screen.
Now click on the print option. You will be navigated to the preview page.
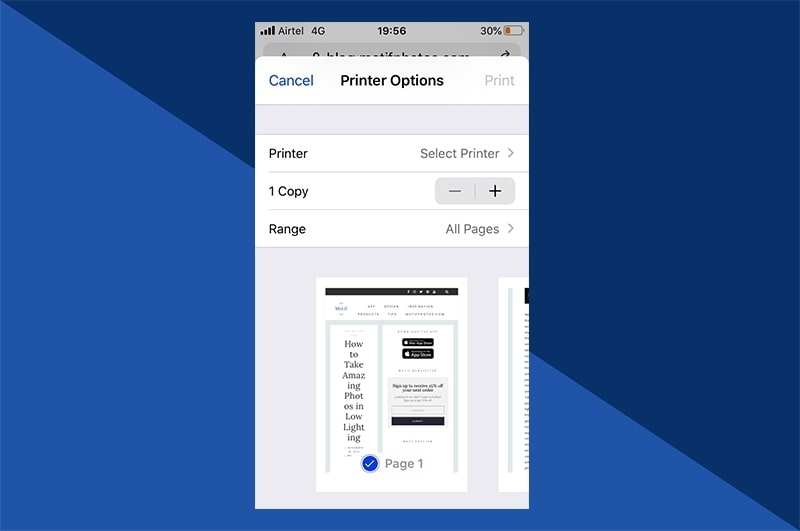
Step 2: View Preview
Once you are on the preview page, you will find a small preview of the page. You can also zoom in and zoom out to see if the print looks fine or not. If you are using iPhone 6 and above version, you can tap and hold the finger to use the pinch-out gesture.
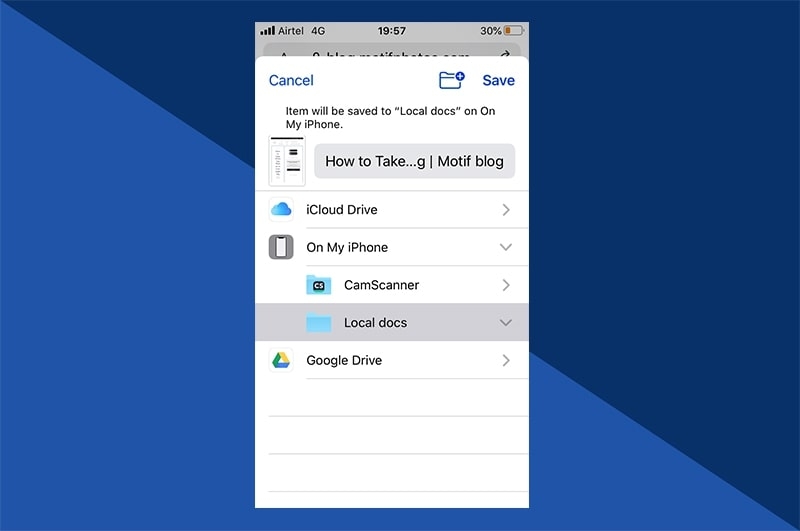
Step 3: Tap on the Share icon and Save the PDF
Once you see the full preview mode, you can tap on the share icon present in the top-right corner of the screen, as shown in the image below.
Once you select the format to save (save as PDF), choose where you would like to save the file. You can either save it on your iPhone, send it over email, or choose to use it with a PDF-compatible app.
How to Print email as a PDF on an iPhone?
To print the email as a PDF on iPhone, you need to first open the Apple Mail application and then scroll down and click on the option ‘print conversation’. If you are using Gmail, then you can find 3 dots beside the email. Tap on it and select the ‘Print’ option. The same process can be applied to print an email as a PDF on outlook as well.
Once you click on the ‘Print’ option in any of the respective email applications, the rest of the printing steps are common:
- Tap on the ‘Print’ option in the top-right corner and choose your desired print settings.
- In case you want to save the email as a PDF, you can long-press on the document preview to zoom it.
- Now, press on the bottom left corner and click on the ‘Share’ icon.
- Now, press the ‘Save to Files’ option to save the email as a PDF on your iPhone.
Things to Consider When Creating PDF in Different Browsers
Though the above steps are more inclined towards the Safari browser, you can follow similar steps to print PDF on other browsers as well. In case you don’t find the browser supporting the printing option, then we recommend you take a screenshot of the file and then send it to the ‘Share’ option after printing.
What can you ‘Print to PDF’ on your iPhone?
The latest ‘print to PDF’ feature on iPhone allows you to print any file, document, mail, photos, etc. You are not restricted to any file type for printing. Also, the print to PDF feature is not restricted to use only for Apple apps but also can be used for any third-party apps like Google Sheets, Gmail, and other browsers.
Conclusion
We hope this article has provided clear insights on how to use the ‘print to PDF’ feature on iPhone. If you are not using Safari on your phone, you can still print to PDF on other browsers as well because this feature supports even non-Apple apps.
Enjoyed this article?
If TechLatest has helped you, consider supporting us with a one-time tip on Ko-fi. Every contribution keeps our work free and independent.
