Highlights
- The interactive map doubles as a powerful planning tool for exploring Lumiose City efficiently.
- Smart use of Mega Evolution mechanics can turn tough battles into strategic victories.
- Exploring every corner of Lumiose often leads to rare rewards and hidden surprises.
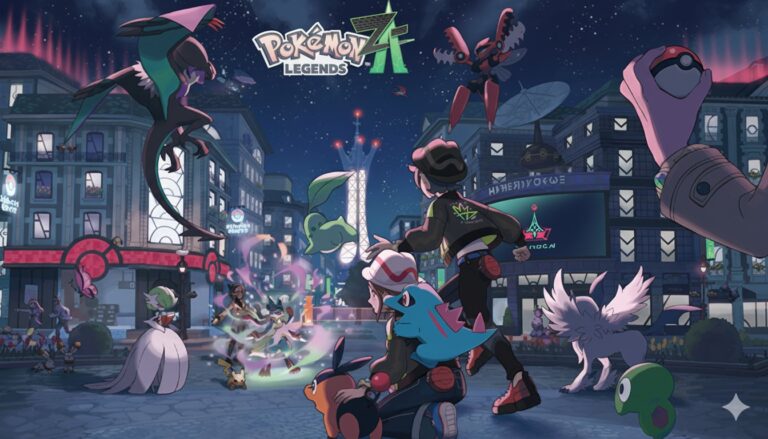
Pokémon Legends: Z-A turns the bustling streets of Lumiose City into a massive open-world playground. Between the skyscrapers, cafés, and hidden alleyways, there’s so much to explore that it’s almost impossible to keep track of everything, unless you’re using the game’s new interactive map .
In this guide, we’ll tell you how that map works, what every filter means, and how to use it to track down Wild Zones, Mega Stones, collectibles, Alpha Pokémon, etc. If you’re the kind of player who doesn’t like missing a single item, this is the one thing you’ll want open beside your game.
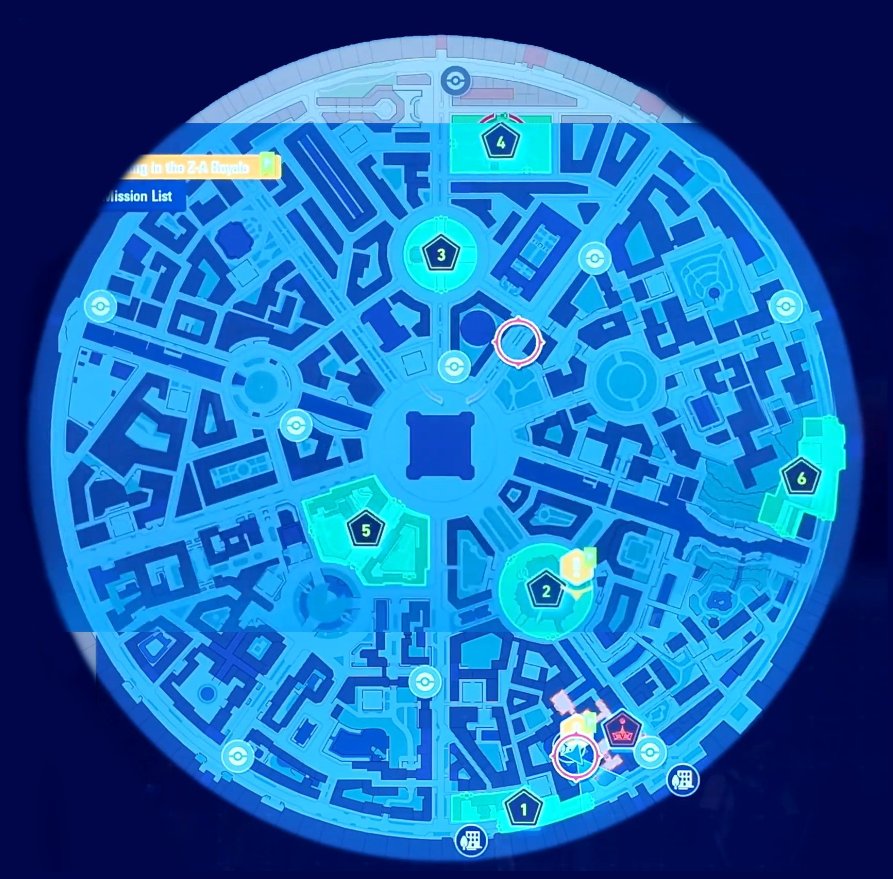
Exploring Lumiose City With the Interactive Map
Don’t want to miss the best from TechLatest ? Set us as a preferred source in Google Search and make sure you never miss our latest.
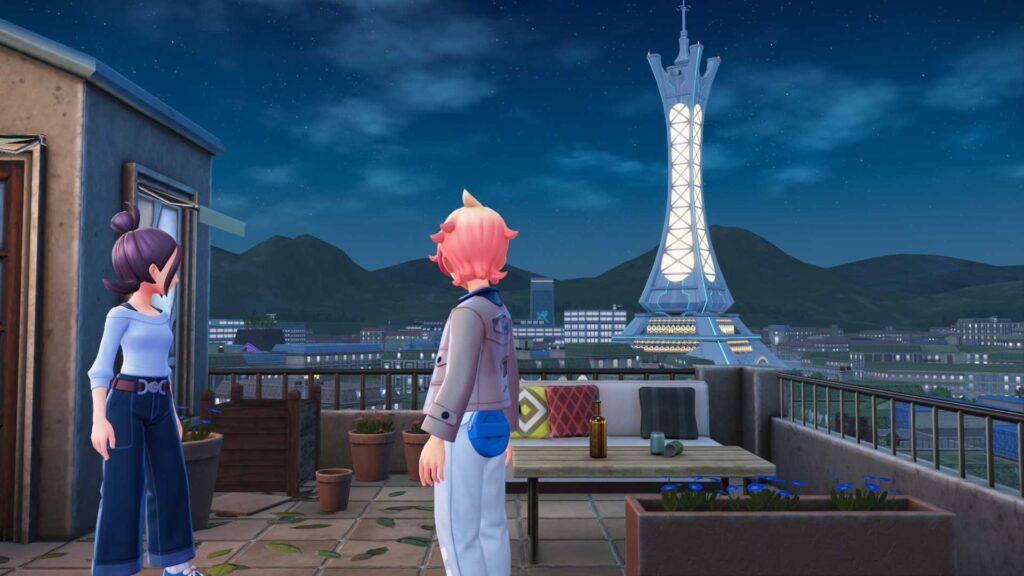
Initially, Lumiose feels overwhelming, with neon lights, layered districts, and multiple paths leading you in different directions. The interactive map acts as a digital companion that lets you see the city for what it really is: a living grid of zones, shops, and battles waiting to be uncovered.
When you open it, you’ll see markers for almost everything:
- Wild Zones and ladders leading to hidden levels.
- Pokémon Centers, Boutiques, and other service spots.
- Collectibles like Colorful Screws, TMs, and Mega Stones.
- Mission and battle markers that help you plan your next move.
You can toggle each category, zoom in on specific districts, or mark off things you’ve already collected. It’s basically your progress tracker in map form, and it’s far more useful than constantly guessing where you’ve been.
What are the Filters?
The map isn’t just a static layout. Every filter has a purpose. Once you get used to switching them on and off, you’ll navigate Lumiose like a pro.
1. Locations
These are the core exploration points , Wild Zones, ladders, and Holovators that connect the upper and lower levels of the city. Whenever you unlock a new area through missions, a new marker appears here.
Wild Zones are especially important; they’re like contained ecosystems filled with catchable Pokémon, Alpha encounters, and rare loot. If you plan on farming Mega Shards or leveling up your team, these are your go-to areas.
2. Services
Think of this as your “comfort layer.” It highlights Pokémon Centers for healing, Boutiques for clothes, and Hair Salons for customization.
Now, why does this matter? Because Lumiose evolves as you do. New outfits appear after certain missions, and even the service areas expand as your story progresses. Knowing where everything is saves you from endless backtracking.
3. Collectibles
These are the shiny distractions that make exploring addictive: TMs , Colorful Screws , Mega Stones , and treasures hidden in plain sight.
Colorful Screws add passive effects once you collect enough, and TMs help customize your Pokémon’s move sets. The map pins each collectible down precisely, so you’ll never have to wander around aimlessly hoping to spot that one glowing sparkle in the corner.
4. Items
This layer focuses on usable gear : Poké Balls, Potions, Key Items, and other essentials. They might seem trivial at first, but many Key Items are tied directly to side missions or puzzle areas. You can filter them out to clean up your view or switch them on when you’re in a looting mood.
5. Missions
Every quest, both main and side , shows up here. Main Missions push the story forward, while side quests usually unlock hidden encounters, extra outfits, or rare Pokémon.
If you ever forget what you were supposed to do next, just check the mission markers. Hovering over one shows the quest title, objective, and even who to talk to. It’s the simplest way to stay on track without pausing your adventure every two minutes.
6. Battles
These markers show where Z-A Royale matches and special trainer battles take place. Winning these fights increases your ranking and often rewards you with items or Mega Shards.
Sometimes, you’ll also see a “Promotional Match” marker. These are one-time events where you can earn rare Mega Stones, so it’s always worth checking the map before logging off.
7. Special Pokémon
The most exciting filter of them all. This layer reveals Alpha Pokémon and Mega Pokémon locations.
Alpha Pokémon are stronger, larger versions of regular species that appear in specific Wild Zones. Mega Pokémon, meanwhile, are often tied to missions; beating them usually rewards you with that Pokémon’s Mega Stone. These encounters can be tough, but the loot is absolutely worth it.
8. NPCs and Others
Finally, you’ve got markers for traders, quest-givers, and unique characters. Some NPCs sell items that can’t be found anywhere else, while others unlock entirely new areas after a bit of dialogue. Keep an eye on them, they often disappear or move after certain missions.
Wild Zones: The Heart of Exploration
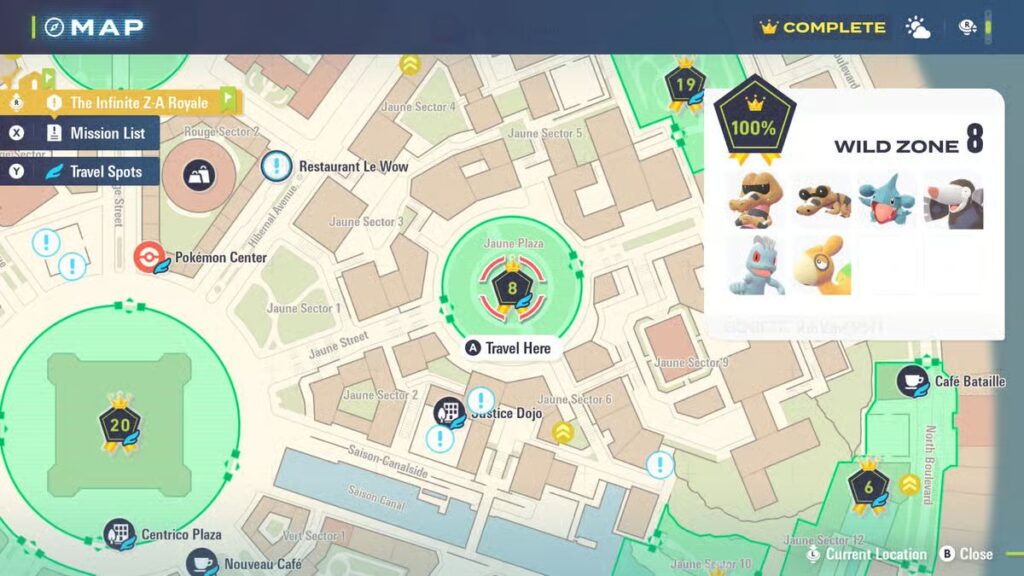
Lumiose City is divided into multiple Wild Zones , each with its own Pokémon lineup, weather patterns, and item pools. Think of them like self-contained habitats stitched together by the city’s infrastructure.
Wild Zone 1
A calm starting area filled with Grass and normal types. It’s great for early training and collecting basic resources.
Wild Zone 2
The bumps up here, expect Fire- and Fighting-types, along with your first Rogue Mega encounter.
Wild Zone 3
Dark alleyways, ghostly ruins, and tougher enemies. Perfect for those looking for a challenge and late-game materials.
Wild Zone 4
A high-level zone filled with Dragons and Steel-types. Rare Evolution Stones and Mega Tyranitar reside here. Bring your strongest team; this place doesn’t mess around.
Each Wild Zone has its own checklist of Pokémon, Alpha spawns, and items. It’s worth completing them one by one instead of bouncing randomly around the map.
- GTA 6 Price May Cross $100, and Rockstar Could Deserve It
- Pikachu Returns for Pokémon Go Festival of Lights Diwali 2025 Event
- Magic: The Gathering Brings Teenage Mutant Ninja Turtles Back in Crossover
How Mega Evolution Works in Legends: Z-A
Once you’ve got the right Mega Stone, give it to your Pokémon through the “held item” menu. When you enter battle, the Mega Power gauge determines when you can evolve.
As your Pokémon fights, Mega Power builds up. When it’s full, the option to Mega Evolve becomes available. Activating it temporarily boosts stats and may alter typing, ability, or move power, depending on the species.
- Mega Evolution lasts until Mega Power runs out.
- Swapping out a Mega Pokémon lets it keep its form temporarily.
- Both Mega Evolutions and Plus Moves draw from the same Mega Power meter, so plan carefully.
Mastering this system is half the fun; it adds layers of timing and risk that weren’t present in the older games.
Trading Mega Shards: The Quasartico Exchange
After coming far enough, you’ll unlock the Quasartico Mega Shard Exchange , a small shop that trades your collected shards for Mega Stones.
Common stones cost around 240 shards, while rarer ones like Salamencite or Metagrossite can go up to 360. You’ll gather shards naturally through missions, battles, and Alpha hunts.
It’s a grind, but once you have enough, the payoff is huge. Always check the exchange counter after completing story missions; new stones get added over time.
Wrapping Up
Lumiose City is massive, unpredictable, and packed with surprises, but with the right map and a little patience, you’ll uncover every secret it’s hiding.
So, that’s all we have for you about the Pokémon Legends: Z-A Interactive Map and Mega Stone Guide. We hope that this guide has helped you. For more info, comment below.
Enjoyed this article?
If TechLatest has helped you, consider supporting us with a one-time tip on Ko-fi. Every contribution keeps our work free and independent.
